- Products
- Products
- Companies
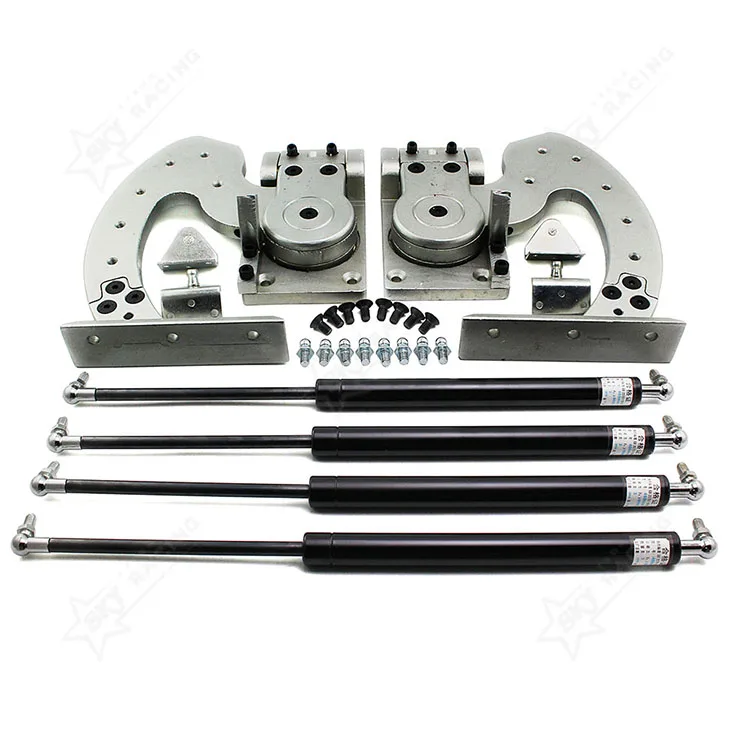
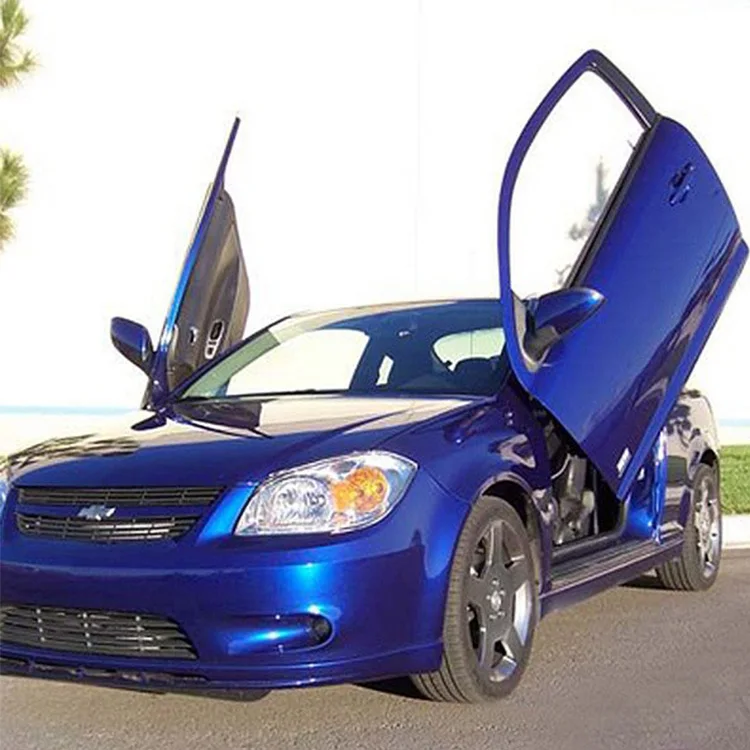
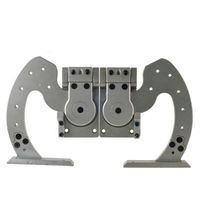
Universal Lambo Doors Hinges Kits for Lamborghini Mustang BMW E46 Camaro Mazda RX8 Honda Civic Peugeot 206 Kia Forte Scirocco

-
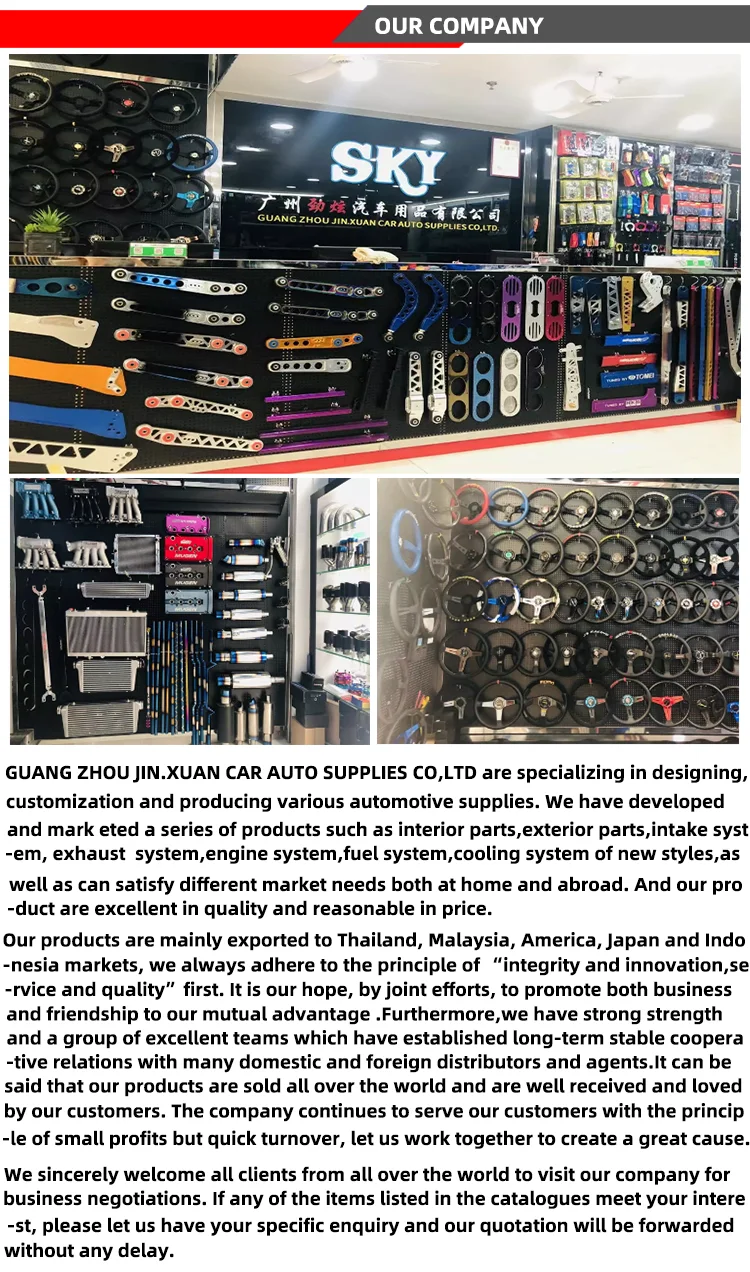
Supplier: Guangzhou Jinxuan Automotive Products Co., Ltd. -
Region: Guangdong, China -
Contact: Mr Jone Chen -
Price: $165.00 /piece -
Min. Order: 1 piece
Product details
| Include: | 2 Upright Door Hinges (Left and Right); | Car Fitment: | Universal; |
| Product name: | Universal Lambo Doors Hinges Kits; | Model: | Universal; |
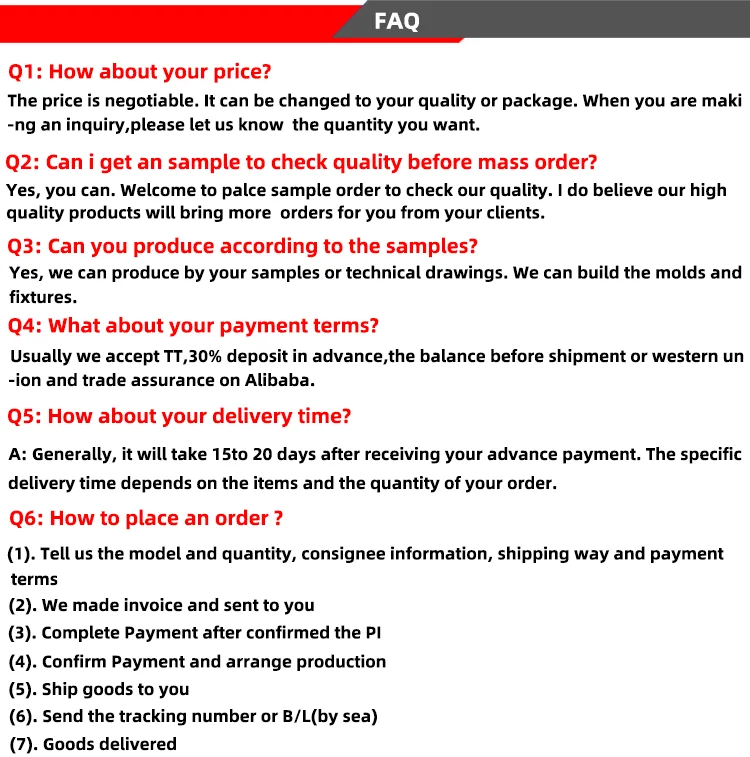
| Packaging Detail: | First, we have box and woven packaging. Second, different packaging methods will be adopted for different products so that the products can arrive at the destination safely Third, according to customer's requirement; | Payment terms: | Paypal TT Wersterunioun; |
| Keyword: | lambo door hinges; | Car Make: | Universal,Universal; |
| Package Preview: | ; | Place of Origin: | Guangdong China; |
| Size: | Standard; | Warranty: | 6 months; |
| Payment Terms: | D/P,T/T,Western Union; | Color: | Silver; |
| Model Number: | JDM001; | Year: | Universal; |
| MOQ: | 1 Pcs; | Material: | Steel; |
| Port: | Guangzhou; | OE NO.: | Universal; |
| Supply Ability: | 100000 Piece/Pieces per Month Universal Lambo Doors Hinges Kits; | Brand Name: | ITOK; |
| Packing: | Carton Box; | Type: | Door Hinge,Door Hinge; |
Universal Lambo Doors Hinges Kits for Lamborghini Mustang BMW E46 Camaro Mazda RX8 Honda Civic Peugeot 206 Kia Forte Scirocco
1
![]()
Description
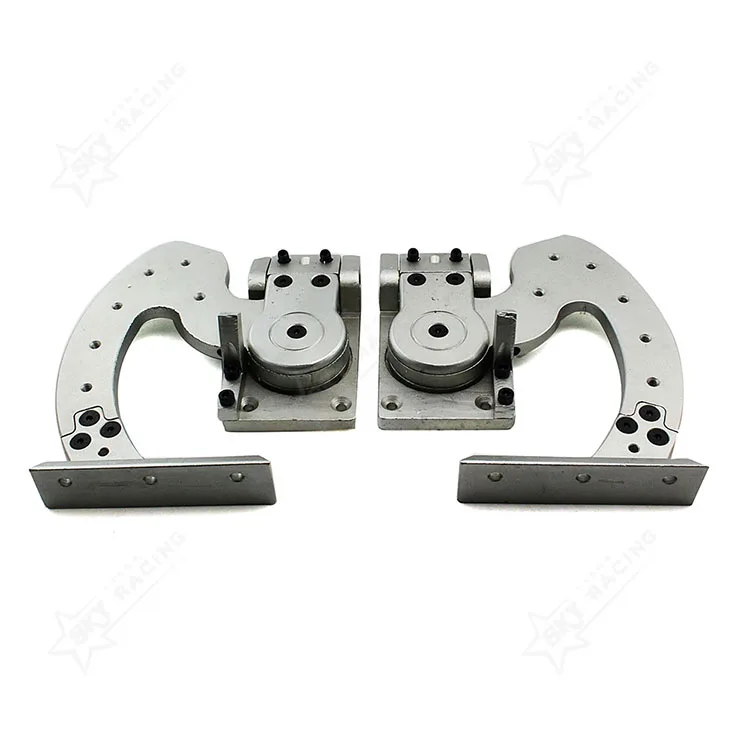
Truly 90 Degrees of Door Movement
CAD Designed
Smooth Operation
Adjustable Stop Points
100% CNC/CAM machined Nickel-plate steel construction
Maintains factory safety, accessories & function
2 Upright Door Hinges (Left and Right)
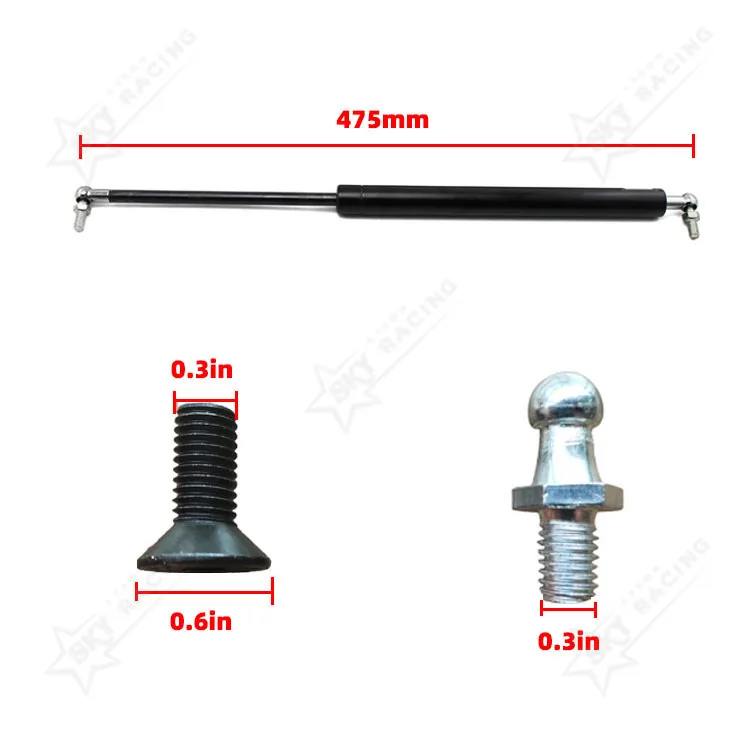
4 Heavy duty Gas Struts
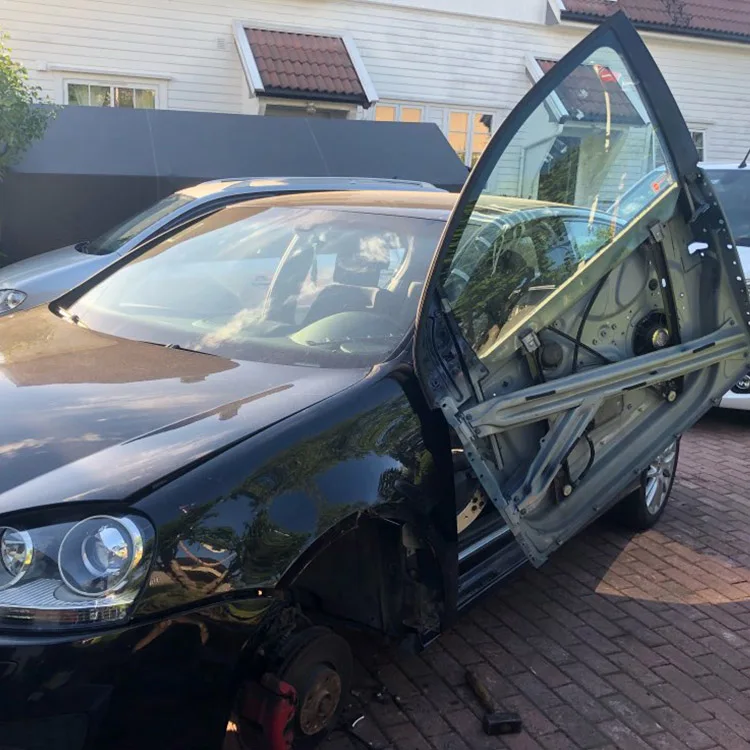
They are universal and can be fitted to any vehicle
Detailed Instructions
Net weight: 20kgs
Installation:
WARNING: This is a universal lambo door kit, and may require custom modifications. We highly recommends professional installation by a custom fabrication shop.
Installation Steps:
1. Disconnect battery.
2. Remove door panels and lower dash panels for easier access.
3. Remove fenders, and all necessary parts to remove them.
4. Remove door stop bar if applicable.
5. Remove all wiring running in to the door.
6. Close door and remove upper hinge.
7. Test fit Protocol Upright Door Hinge for correct placement on vehicle.
8. Be sure that the location the hinge will mount is flat, remove any unneccassary flanges or mounts.
NOTE: if cutting must be done be sure the chassis structure remains in fact.
9. Hold the hinge in place and tack weld it in position, on chassis and door.
10. Be sure all measurements are correct before welding, or you may need to cut the welds and start over.
11. Remove lower hinge.
12. Open door and test the swinging motion.
NOTE: use caution as there is nothing holding the door up.
13. Close door and replace fender to test the fit and motion.
14. Open door slowly, mark locations on fender that will need to be rolled or cut away, fender flange may need to be removed for more clearance.
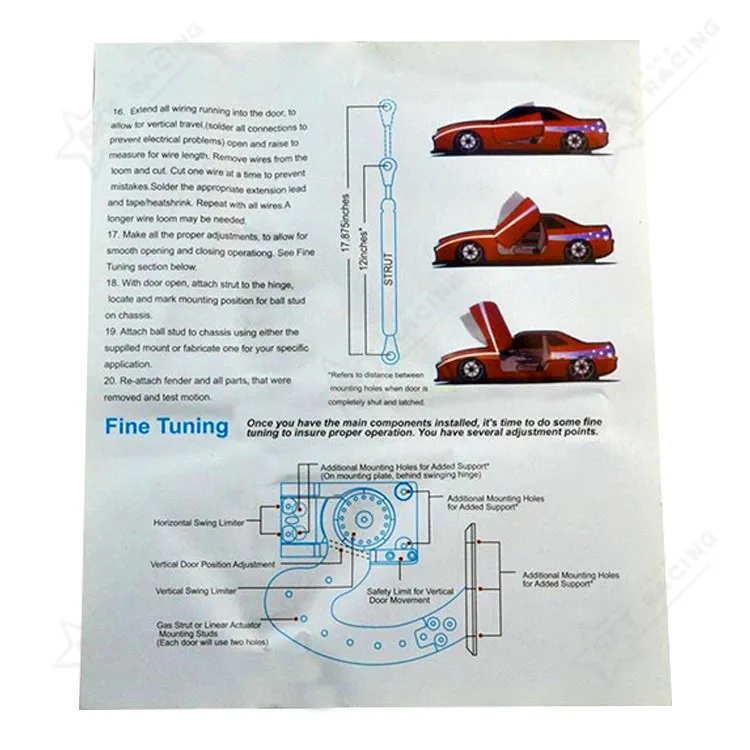
15. Mark location on safety limit bar (on upright Door hinge) for correct outward movement. 16. Extend all wiring running into the door, to allow for vertical travel, (solder all connections to prevent electrical problems) open and raise to measure for wire length. Remove wires from the loom and cut. Cut on wire at a time to prevent mistakes. Solder the appropriate extension lead and tape/heatshrink. Repeat with all wires. A longer wire loom may be needed.
17. Make all the proper adjustments, to allow for smooth opening and closing operation. See Fine Tuning section below.
18. With door open, attach strut to the hinge, locate and mark mounting position for ball stud on chassis.
19. Attach ball stud to chassis using either the supplied mount or fabricate one for your specific application.
20. Re-attach fender and all parts, that were removed and test motion.
2


3

4
5
VIEW MORE
You may like
-
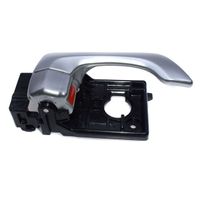
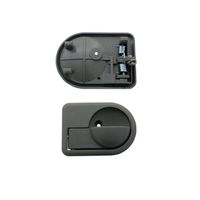
Brand new silver front/rear right inner door handle for KIA 2006-08 Optima 826202G000 82620-2G000

-
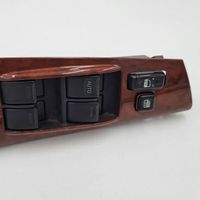
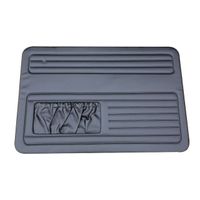
Wood Grain Interior Door Handle Window Main Switch Decoration For Toyota Corolla 03-08
-
Manual control of the vertical set of lambo doors
-
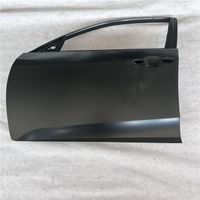
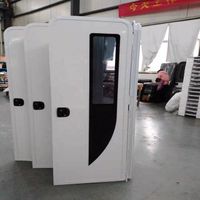
Factory direct sales Civic 2016 car front/rear door
-
Factory direct high quality RV custom size teardrop RV door
-
Straight factory Rand Cool Road Ze 40 series FJ40 FJ45 HJ40 FJ43 BJ45 HJ45 steel body panels
-
Electric Automatic Sliding Door Kit Automatic Car Sliding Door with Anti-Pinch and Self-priming Lock for Toyota Hiace/Sprinter/Mini Van
-
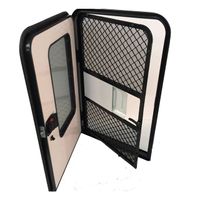
MAYGOOD's latest RV RV entry door with built-in screen door
-
Manufacturer of Professional Auto Parts Auto Flat Door Panels for Sale China Factory
-
YACOO CAR DOOR HANDLE INSIDE CAR FOR DAEWOO TICO 1991-2001 96226329 96226330

Other Products
-
$2.50 - $9.90 / piece
-
$52.00 - $75.00 / piece
-
$3.00 / piece
-
$9.00 / piece