- Products
- Products
- Companies
Original PS2 IDE Network Adapter for China Factory SATA Adapter Board Upgrade

-
Supplier: SHENZHEN XINOLE ELECTRONICS CO.,LTD -
Region: Guangdong, China -
Price: $16.00 / 1 - 99 pieces
$12.90 / 100 - 499 pieces
$11.90 / 500 - 999 pieces
$9.90 / >=1000 pieces -
Min. Order: 1 piece
Product details
| Packaging Details: | 1pc/polybag, 100pcs/large plastic bag, 300pcs/carton | Gross weight per piece: | 0.500 kg |
| Sales unit: | single product | brand: | bitcoin |
| Health status: | PS2 SATA Adapter Upgrade Board | type: | SATA adapter upgrade board for PS2 |
| model: | v2 | Warranty: | 1 year |
| place of origin; place of origin: | Guangdong, China | Single package size: | 6.8X2.2X1cm |
Product Description
| brand | bitcoin |
| Compatible Brands | sony |
| title | SATA upgrade kit for ps2 original network card FAT V2.0 |
| Function | Upgrade IDE to SATA |
| Suitable for | Original SONY PS2 IDE network card |
| size | 6.8*2.2*1cm |
| place of origin; place of origin | Guangdong, China |
feature
Now we mention that out-of-the-box Sony NICs only work with IDE hard drives, and IDE hard drives have been discontinued for years, and it's hard to find new IDEs on the market that are completely SATA hard drives. So why not use a faster and larger capacity SATA hard drive instead of IDE hard drive to play PS2 games, it will save us a lot of game loading time.

how to install?
(Install the SATA circuit board on the SONY adapter.)
1. We need to remove the cover from the network adapter. For this, we need two sizes of Philips screwdrivers, one large and one small. The screws that need to be removed are highlighted below. The two screws in the center of the device require a smaller screwdriver.

2. The following picture shows the appearance of the network adapter after removing the cover. The screws securing the power and IDE connectors are Torx screws, use a size 6 Torx screwdriver to remove them.


3. Remove the IDE board and Power board. Be careful when removing the FPS flat cable. It is important that we do not use SONY IDE FPS flat cable, you need to stay away from SONY original flat cable.


4. Install the BitFunx SATA circuit board. We used a Bitfux SATA board flat cable to connect the board to the Sony network adapter.


5. Use spacers and screws to ensure that the SATA board is firmly fixed for a good connection with the SATA hard drive


6. Assemble the panel back

VIEW MORE
You may like
-
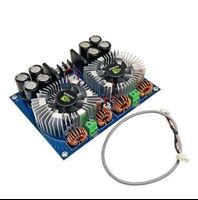
XH-M254 TDA8954 420W+420W 2.0 Class D digital power amplifier board with fan cooling AC24V to AC28V power amplifier board

-
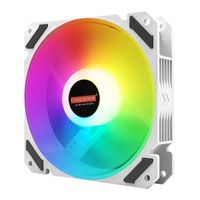
Coolmoon 120mm PWM ARGB Computer Case Fan Quiet 4 Pin RGB Computer CPU Cooling Fan
-
Guangwei SMD2440-021 Infrared Components Ceramic Discrete Surface Mount Emitters and Detectors SMD2440-021
-
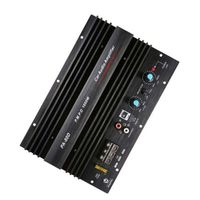
12V 1000W Mono Car Audio Power Amplifier Powerful Bass Subwoofer Amplifier PA-80D
-
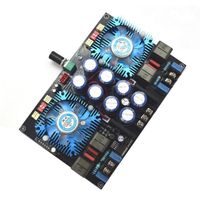
TDA8954TH dual-core digital audio amplifier 420W+420W 2.0 stereo amplifier with fan AC24V
-
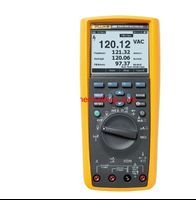
Hot multimeter Fluke 117C brand new original electronic components
-
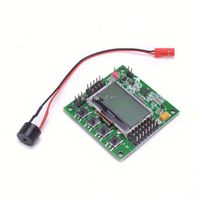
KK 2.1.5 KK2.15 LCD multi-rotor flight control board KK2.1.5 is suitable for quadcopter KK2 6050MPU 644PA F450 F550 S500
-
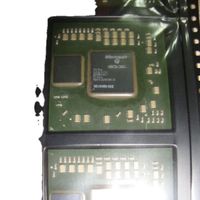
Electronic Components GPU 90nm X810480-002 for XBOX 360
-
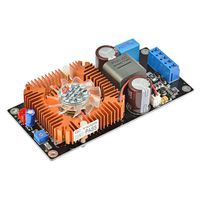
1000W IRS2092 audio power amplifier board HIFI enthusiast high-power mono subwoofer digital power amplifier board
-
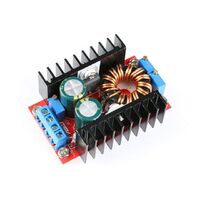
DC-DC CC CV Buck Boost Converter 9-35 to 1-35V 80W Buck Booster DC Buck Boost Adapter Module Adjustable Voltage Regulator

Other Products
-
$20.00 - $30.00 / piece
-
$25.00 - $32.09 / piece
-
$2.20 - $3.50 / piece
-
$5.20 - $7.00 / piece
-
$3.90 - $6.80 / piece
-
$21.85 - $29.45 / piece
-
$1.70 - $3.00 / piece
-
$25.00 - $35.00 / piece
-
$2.60 - $4.50 / piece
-
$2.30 - $4.00 / piece


Related Search
wireless network adapter for vista
g slim vaporizer for china wholesale
busbar for garment factory
china factory laundry washing
for pcb factory suppliers
network adapter suppliers
china factory belt pulley
china factory machines spring suppliers
wood pellet china factory
usb wireless wifi network adapter